Getting started with Meshery, WSL2 and k3d
During KubeCon EU 2019, I had the chance to discover two new softwares that simply amazed me:
- Meshery, which is the multi-service mesh management plane.
- k3d, which is used to create a dockerized k3s server.
And, what really appealed to me about both of them is that everything from the installation to the usage was just simple! And cream on the top, both softwares are used with or inside containers, making each ideal for a create/try/delete workflow.
Environment Setup
Before we start having real fun with Meshery, I will quickly list the different components I used for this blog post and ensure I define what could be optional for your own setup:
- Meshery
- Docker
- Docker is of course mandatory and as Meshery is based on a Compose file, which means that docker-compose is also mandatory.
- k3d
- k3d or any k3s/K8s cluster that you might have already configured.
- WSL2
- For the (few) ones who know me, my “OS base” is WSL2, which means that without much/any change, it should run fine for any Linux/MacOS setup.
- Grafana (optional)
- Grafana is not mandatory however is strongly recommend. We will setup a dockerized instance, but feel free to plug Meshery with your existing instance.
Nothing is taken for granted
For the sake of making the blog post around Meshery, I won’t explain how to install each component and will focus only on getting k3d and Meshery working.
That said, I do not take anything for granted and as Scott Hanselman once taught me: there is no “just have to …” or “by simply doing …”.
If you face any issue with your setup (hopefully WSL2), just let me know on Twitter or on the Layer5 Slack channel.
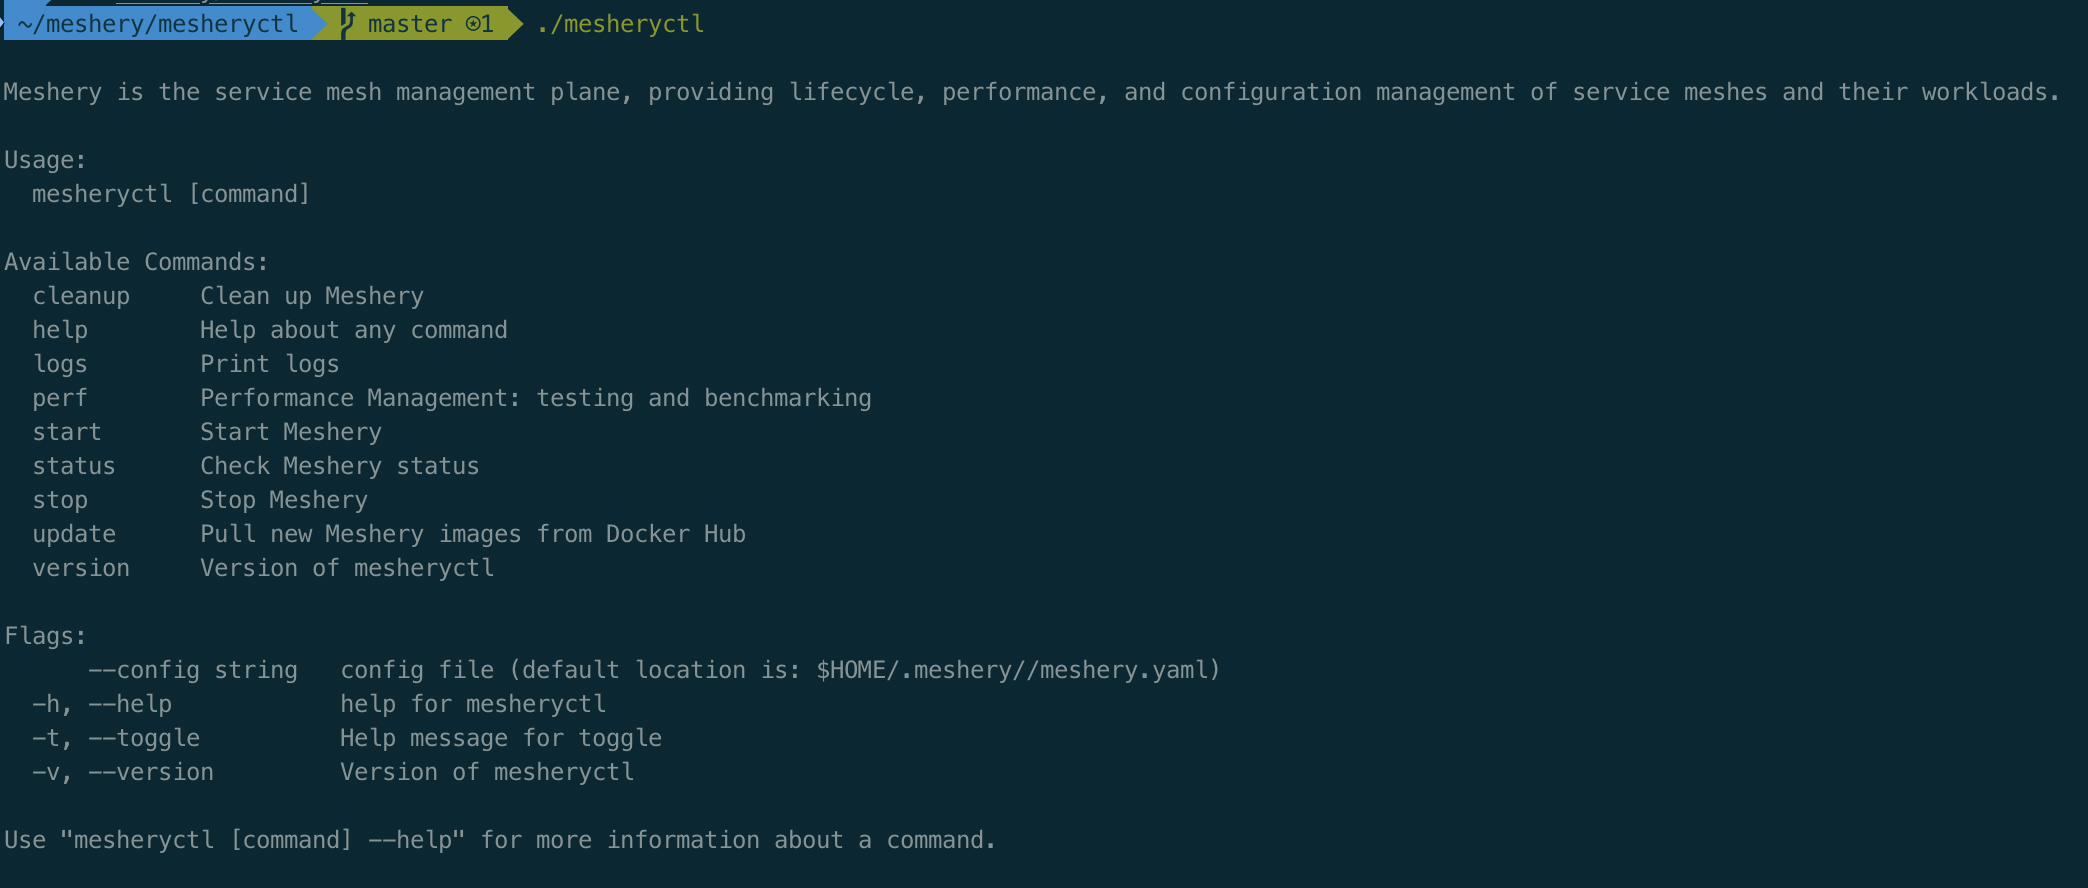
Meshery Installation
For the following steps, I will use the Ubuntu 18.04 WSL2 distro:
- Start docker and confirm it's running:
$ sudo service docker start $ docker version - Using Docker, install Meshery on your local machine by running the following:
$ curl -L https://git.io/meshery | sh -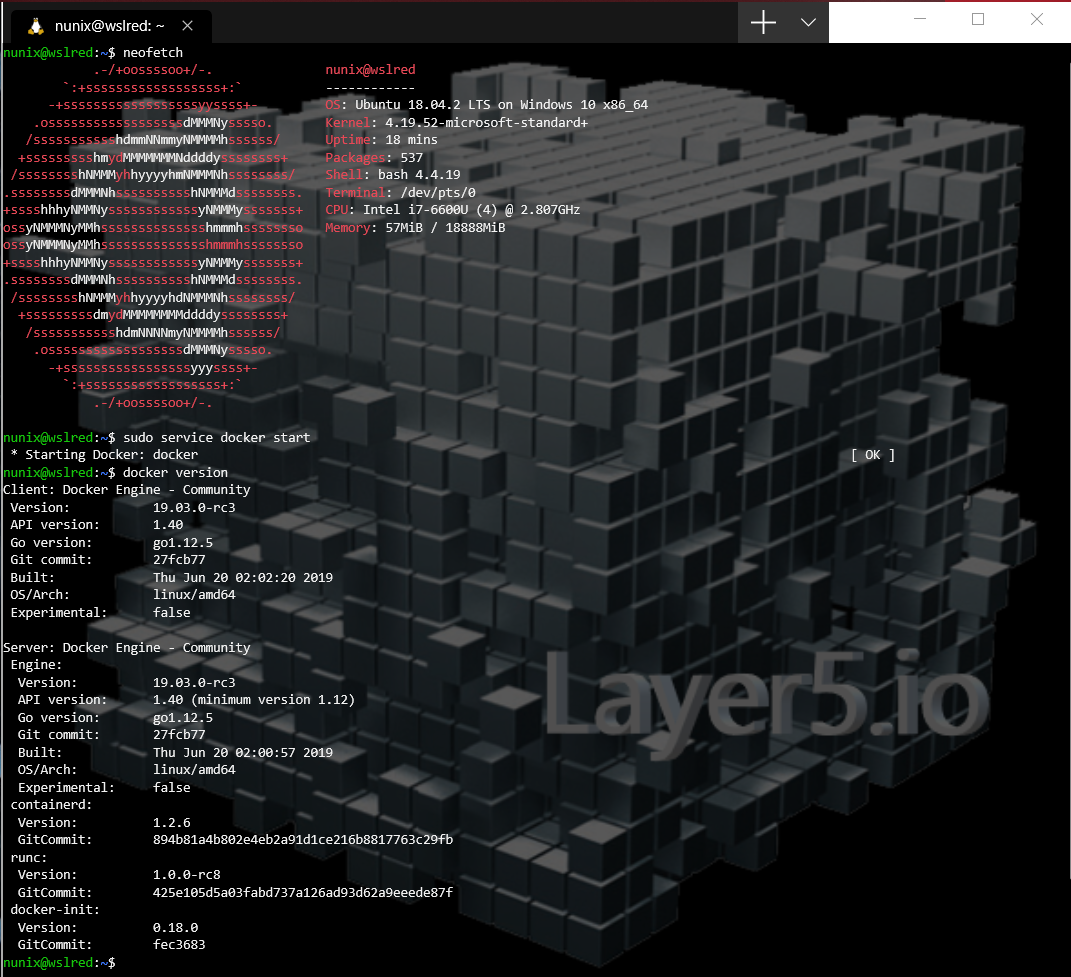
- Create a new k3d cluster with the
WSL2 IP$ export mainIP=`hostname -I | awk '{ print $1 }'` $ k3d list $ k3d create --workers 3 --api-port ${mainIP}:6443 $ export KUBECONFIG="$(k3d get-kubeconfig --name='k3s-default')" $ kubectl cluster-info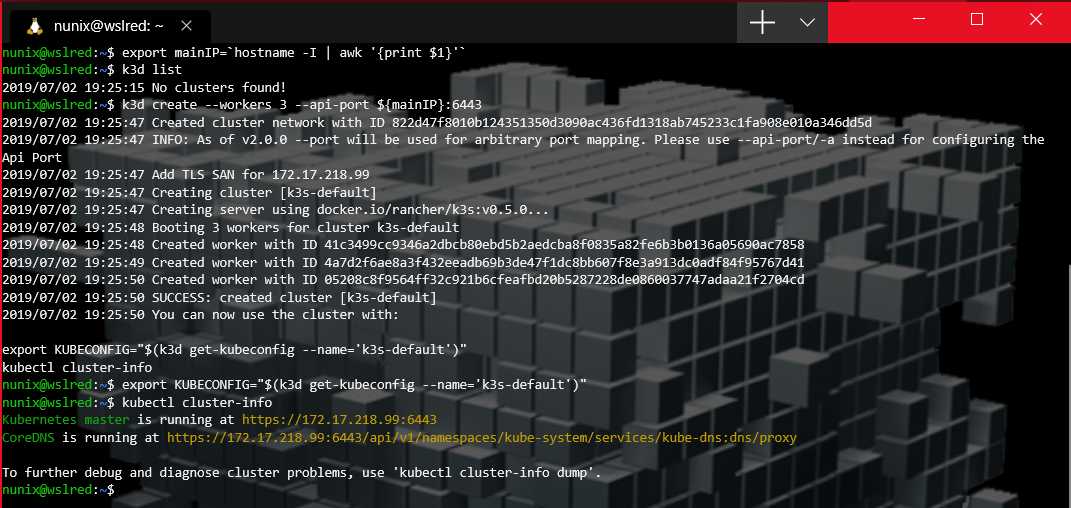
- Start Meshery on the newly created cluster
$ mesheryctl system start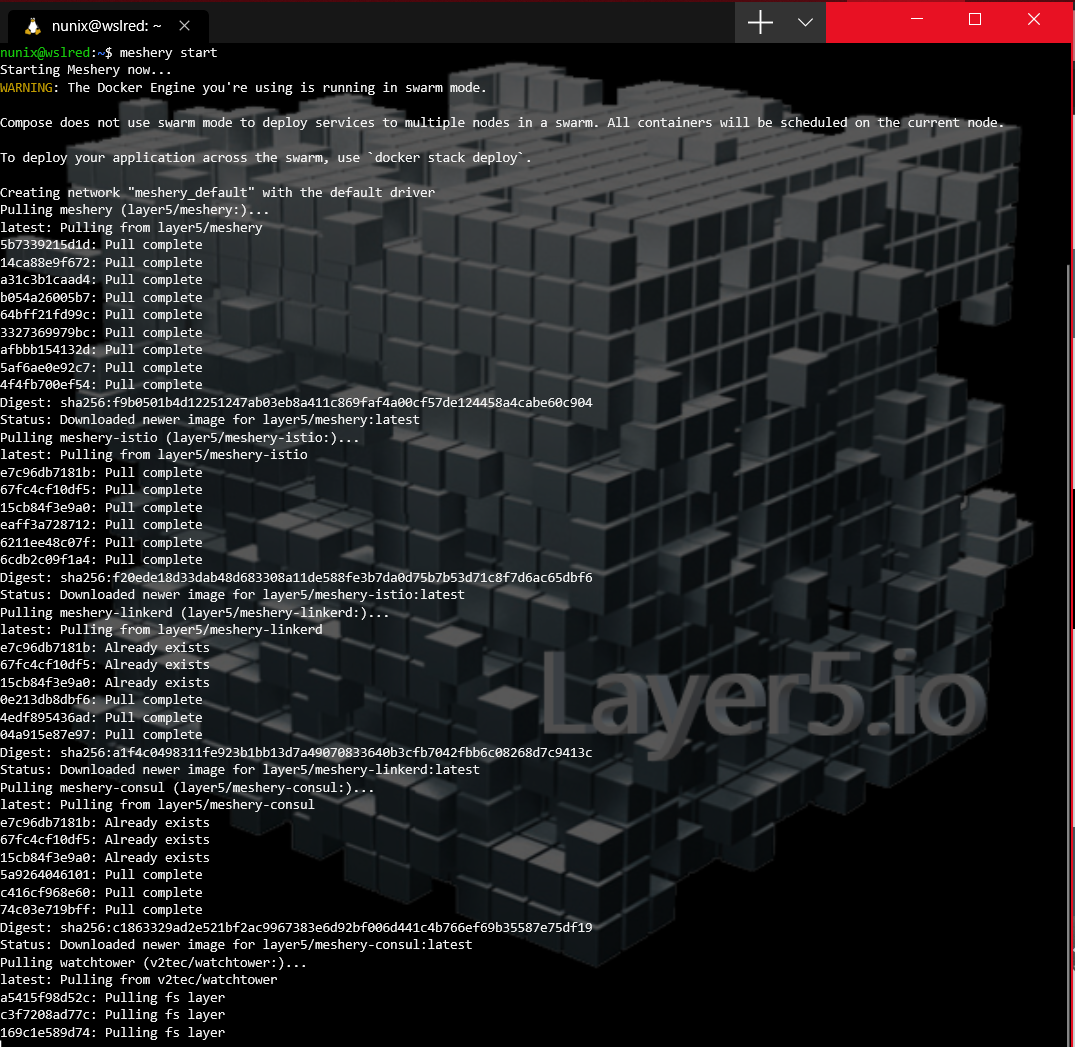
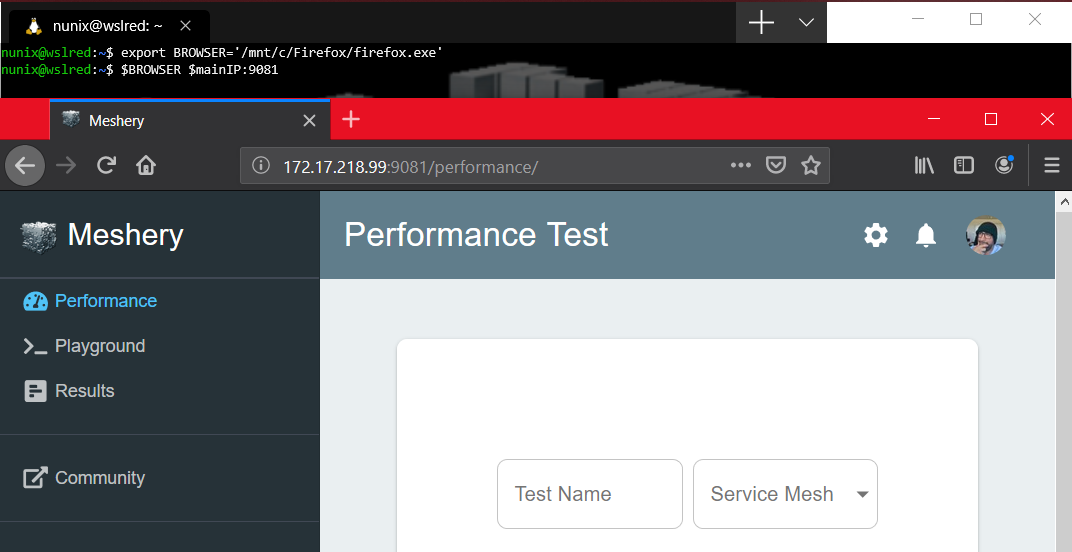
- Once Meshery is fully started, login in your preferred browser using the
WSL2 IPinstead oflocalhost$ export BROWSER=/mnt/c/Firefox/firefox.exe $ $BROWSER $mainIP:9081 &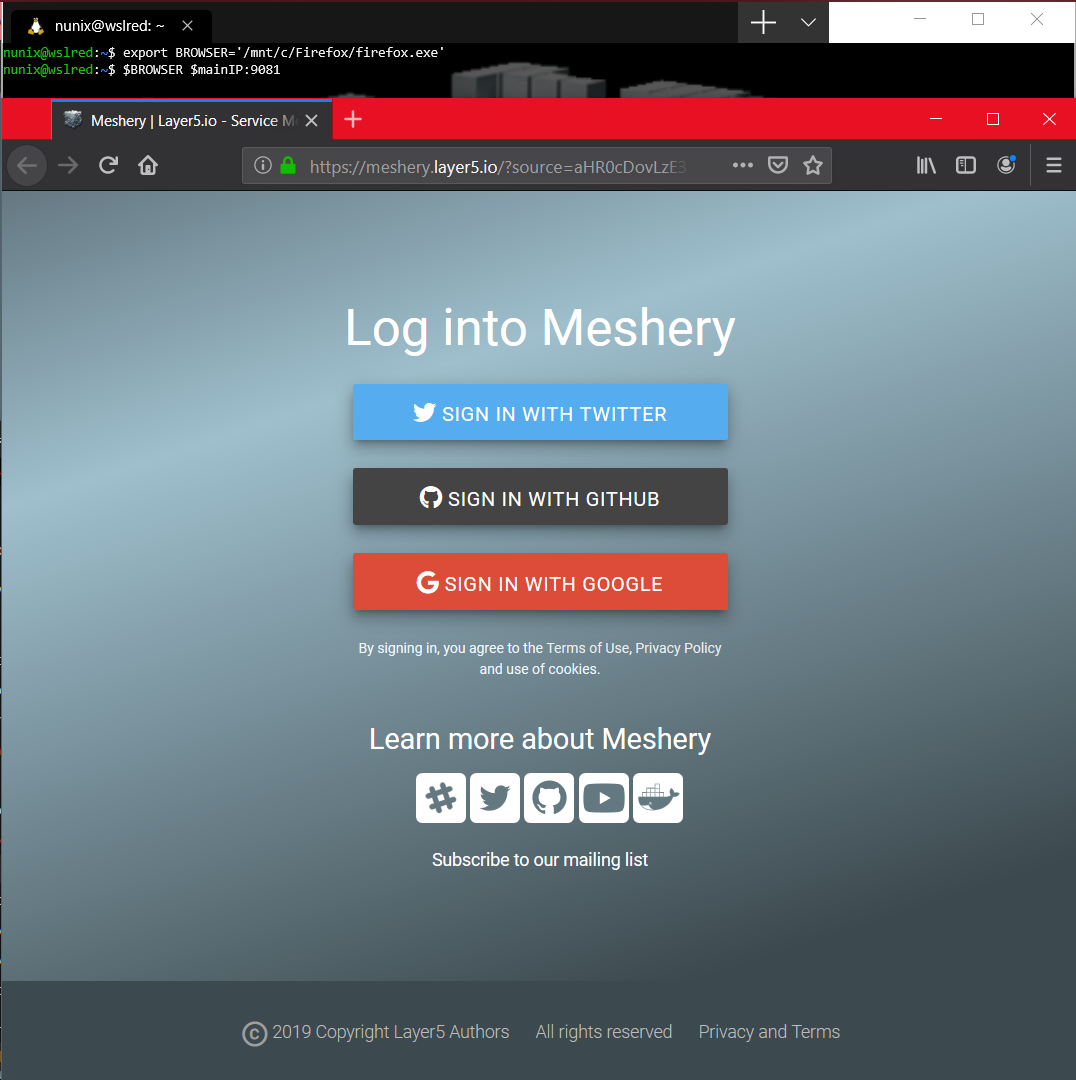
[Optional] More analytics with Grafana
As stated above, Meshery can leverage the analytics provided by Grafana. For this blog post, as everything is built from scratch. Here is the setup for a new Grafana dockerized instance.
- Start a new Grafana on docker instance
            $ docker run \
            -d \
            -p 3000:3000 \
            --name=grafana \
            -e "GF_SERVER_ROOT_URL=http://$mainIP" \
            -e "GF_SECURITY_ADMIN_PASSWORD=MesheryInstance" \
            grafana/grafana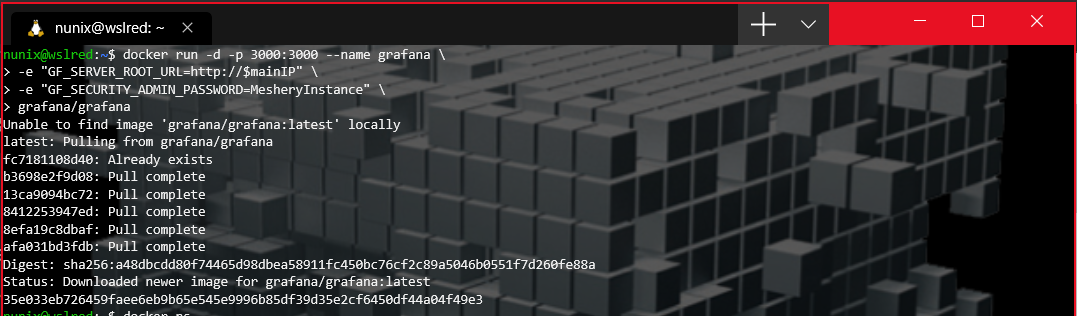
- Access the new instance with the admin password that you set in the docker environment variable
$ $BROWSER $mainIP:3000 &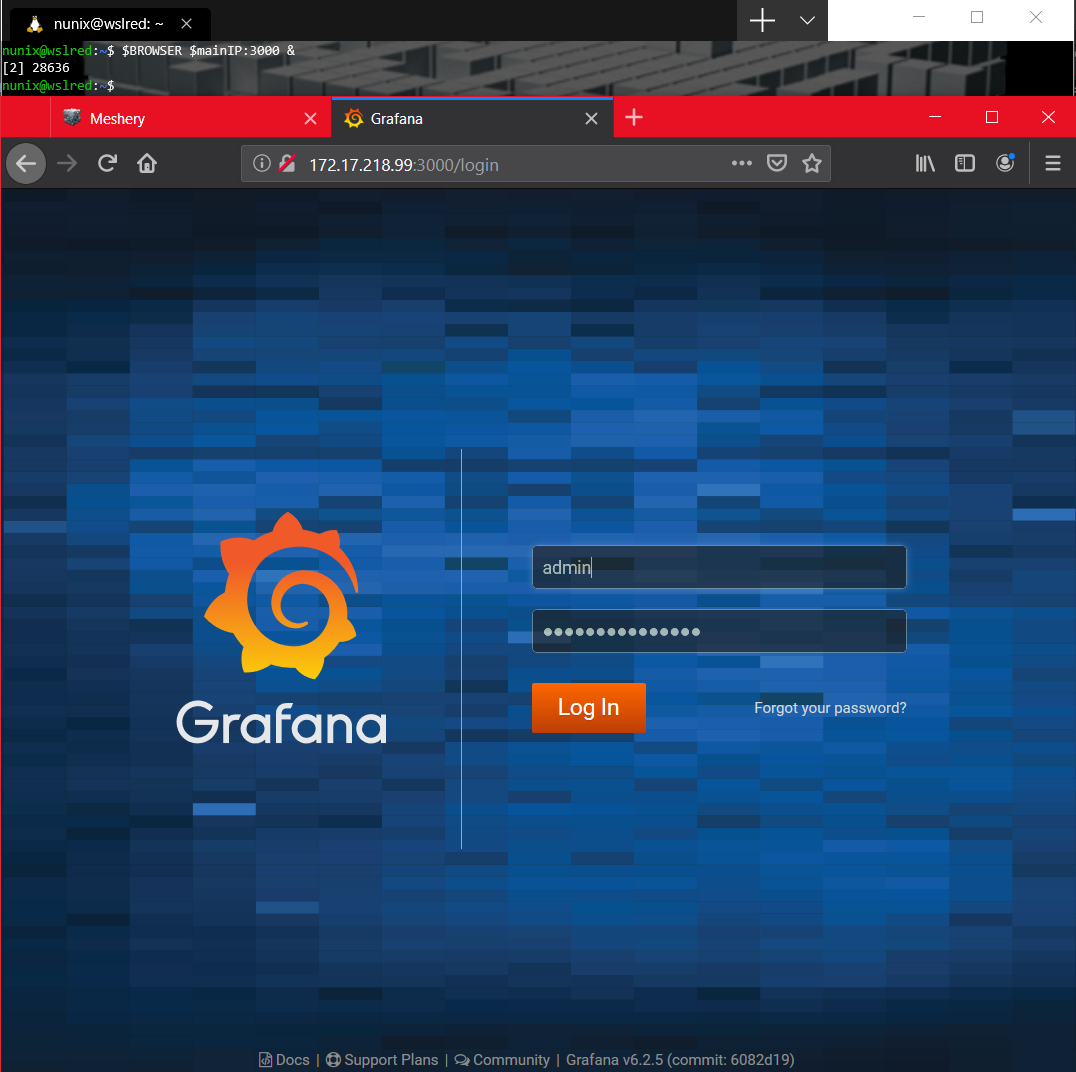
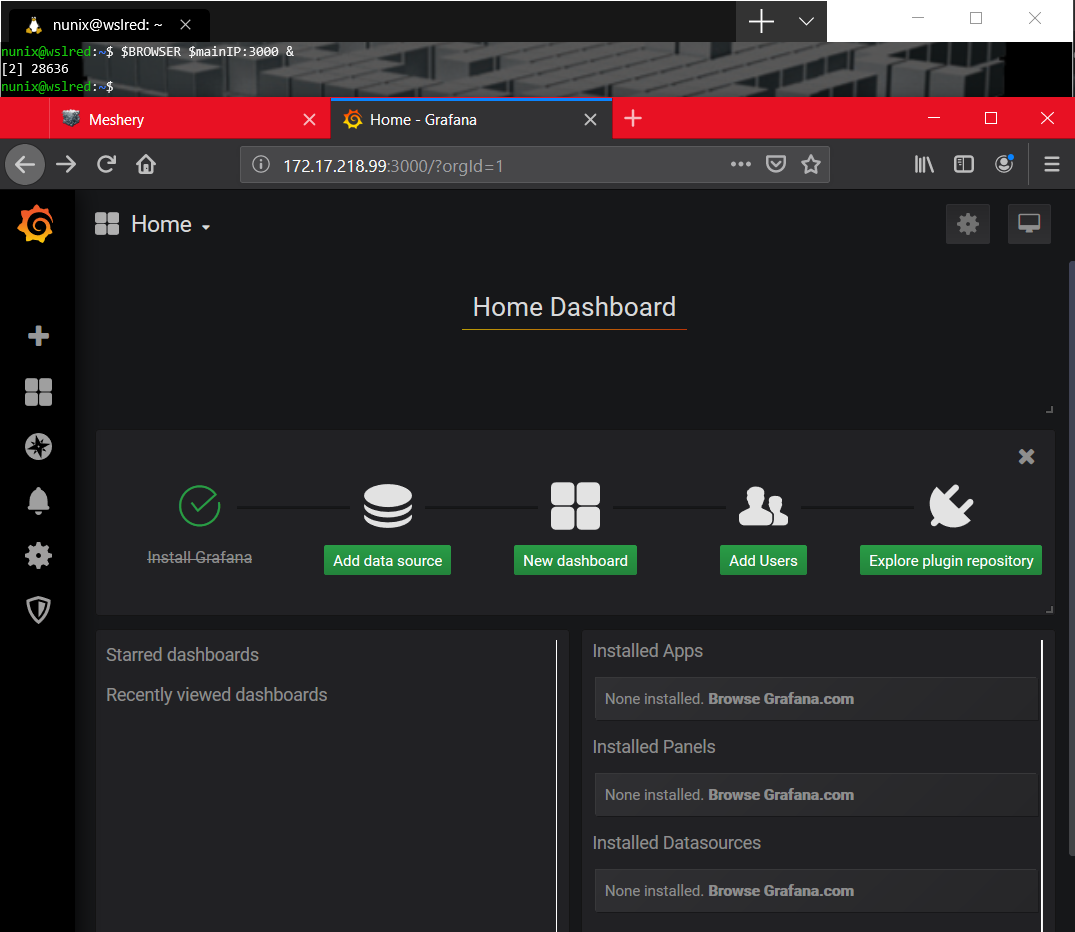
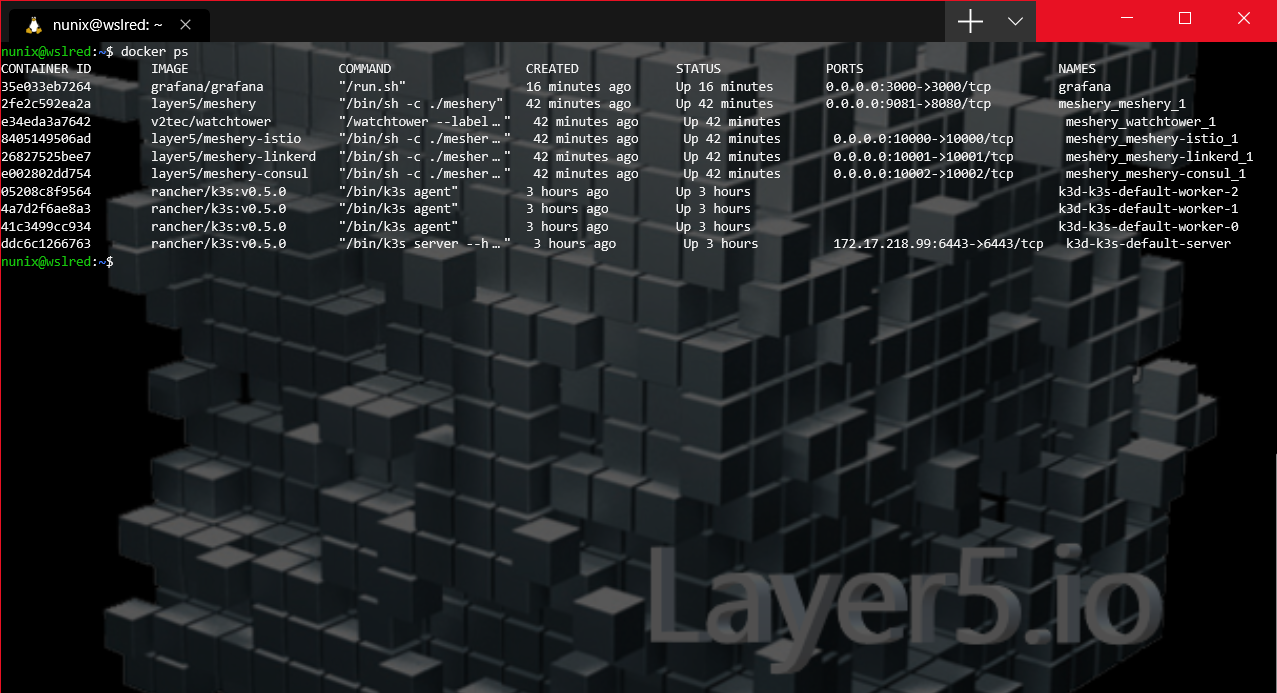
An inside look
While everything should run fine, it’s always good to have a look at what has been deployed.
In this case, we are almost exclusively working with Docker and the “inside look” should look something like this:
Conclusion
As Lee Calcote put it, this is a lot of buzz words: Meshery > k3s (deployed via k3d) > Docker > WSL2 > Windows 10. And he’s totally right, still the “beauty” here, is that it “simply works”.
Since the begin of the Docker era, new tooling has appeard for simplifying complex workflows. Even Kubernetes (K8s) as a much lighter version with k3s by Rancher.
And of course, Meshery which integrates and simplifies the installation and benchmarking of different service meshes. Hope you had fun assembling all these pieces and stay tunned for the “Bonuses”, more fun to come!
> > > Nunix out